

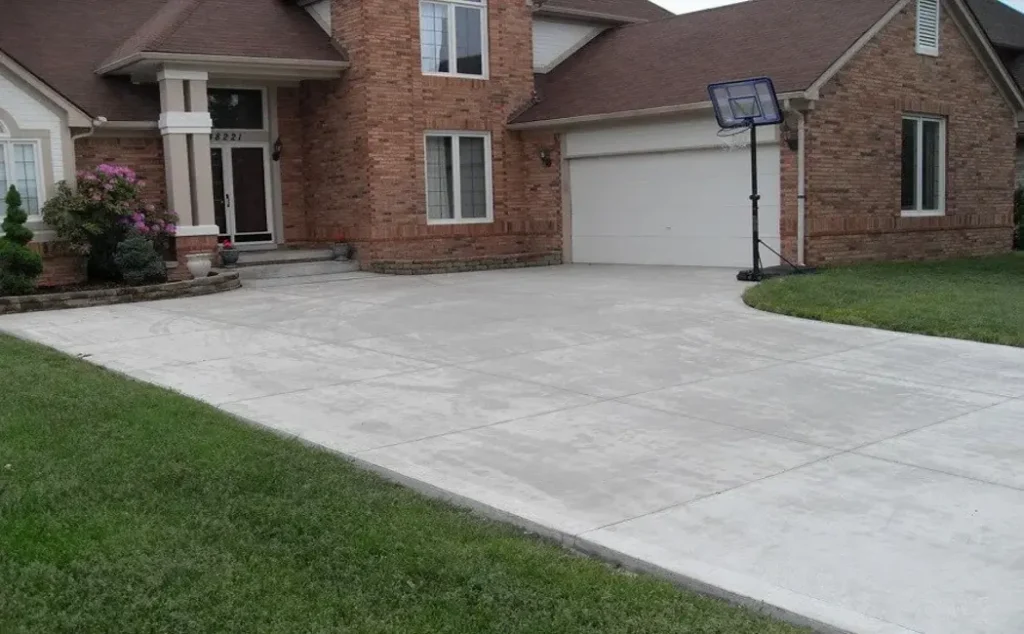
Concrete driveways are durable, attractive, and an excellent investment option to add value to your property. It provides durability and aesthetic appeal to your property. Whether you are replacing your old driveway or installing a new one, it is essential to work with proper planning to ensure long-lasting results. Furthermore, in this guide, we will walk you through the steps of installing a concrete driveway on your property.
Planning and Preparation
Site Assessment
Start by assessing the area where the driveway is going to be installed. It is done to make sure that the site is suitable for excavation, and it will also provide proper drainage.
Look for obstacles such as utility lines or tree roots that may interfere with the installation process. Proper site assessment helps in identifying the exact location and size of the Residential driveway installation, ensuring it meets your requirements and avoiding future issues.
Obtaining Permits
Check with your local municipality to determine in case if you need any permits before the installation of a residential driveway.
It is necessary to obtain these permits, as it will ensure that the project complies with the local codes and regulations.
This step is essential as it prevents legal issues that might come from non-compliance, ensuring the project can proceed without interruption.
Driveway Design Planning
Create a proper plan and design to determine the width, concrete driveway thickness. Consider the number of vehicles you are planning to accommodate in your driveway.
Ensure proper grading and drainage system of your driveway to prevent water from pooling on or under the driveway. This can cause cracks and settlement over time.
Gathering Tools And Materials
Required Material
It is necessary to use high-quality material for concrete driveway installation, like rebar or wire mesh, base material such as gravel, and a suitable sealer to protect the finished surface. By choosing high-quality materials, you can ensure the durability and longevity of the driveway.
Essential Tools
Gather essential tools, including a shovel, a wheelbarrow, a concrete mixer, trowels, a screed board, finishing tools, and safety equipment like gloves and goggles. Having all these essential tools before starting the installation process.
Excavation
Marking The Site
The local concrete driveway installation contractors use stakes and string to mark the area where you want to install the driveway.
It will provide guidance for excavation and ensure that the dimensions are accurate. Proper marking helps in preventing differences that the driveway aligns perfectly with the planned design.
Excavation Of The Site
Start by digging the area to a depth of 8 to 12 inches, depending upon the expected load and soil conditions.
Make sure to remove all the vegetation, rocks, and debris area. Digging is a crucial step as it prepares the foundation for the driveway, ensuring it is stable and properly graded.
Driveway Base Preparation
Laying the Subgrade
Lay the base with compacted soil to provide a stable foundation for the driveway. This will help prevent settling and cracking. A well-prepared driveway base distributes the weight evenly, reducing the risk of future issues.
Compacting the base
A compactor is used to ensure that the base is firmly packed. A well-compacted base is essential to ensure the functionality, durability, and longevity of the concrete driveway. This prevents shifting and settling, which can lead to cracks.
Adding The Base Material
Add the base layer of crushed gravel and compact it. This base material supports the drainage systems and provides extra support. This base layer acts as a shield, protecting the concrete from moisture and helping to distribute the load.
Installing Forms
Types of Forms
These forms can be made of plastic, metal, or wood. They hold the concrete in one place until it cures. This gives your commercial concrete driveway the desired shape and structure. Choosing the right driveway forms depends on the size and complexity of the project.
Driveway formwork setup
Your concrete driveway installers will efficiently set the form around the driveway perimeter to ensure that they are level and secured. This Driveway formwork setup will contribute to the overall aesthetics and function of the driveway.
Reinforcement
Types of Reinforcement
Types of reinforcement include steel rebar and wire mesh. These materials help increase the tensile strength of the concrete, avoiding cracks and extending the life of the reliable concrete driveway. Reinforcement is crucial for those driveways that will bear the heavy loads.
Placing Reinforcement in the Forms
Your concrete driveway installers will carefully position the reinforcement within the forms. Ensure it is slightly elevated, as it will be fixed in the middle of the concrete slab. Proper placement of reinforcement ensures maximum effectiveness in preventing cracks and increasing durability.
Mixing the Concrete
Choosing the Right Mix
Select a concrete mix that suits the climate and expected load. Ready-mix concrete is a convenient option for most homeowners, as it ensures consistency and quality. The right mix will ensure the driveway is strong and durable, capable of withstanding the elements and daily use.
Mixing Methods
Mix the concrete and use a concrete mixer to achieve a consistent mix. Proper mixing is crucial as it affects the strength and finish of the reliable concrete driveway. Ensure the mixture is uniform and has the right consistency.
Pouring the Concrete
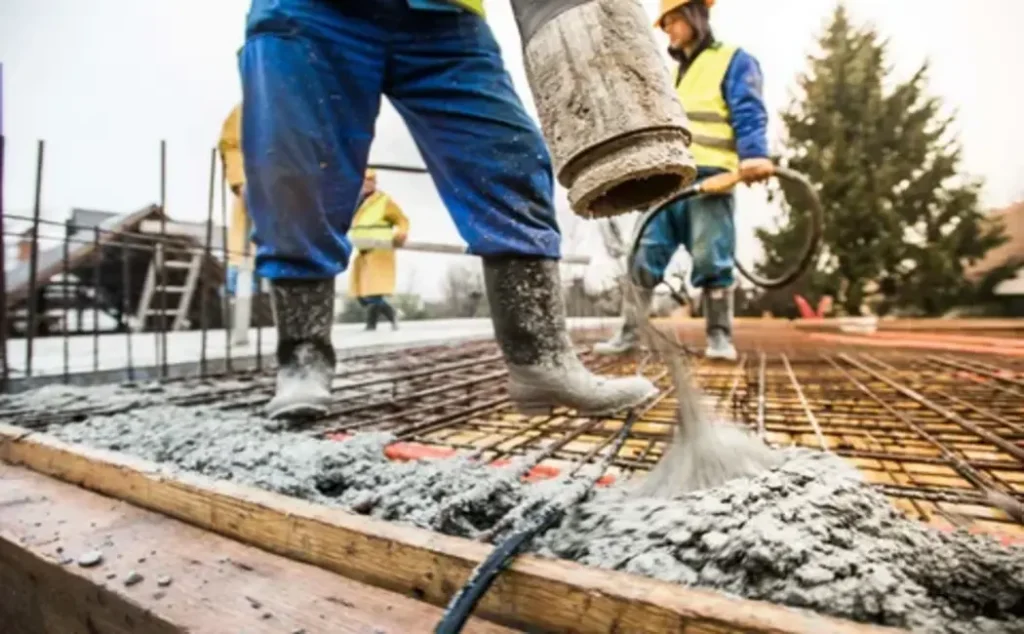
Pouring Techniques
Concrete Driveway Installers know the essential Concrete pouring techniques that will help pour concrete into the forms easily, starting at one end and working their way to the other. Pouring should be done carefully to avoid creating air pockets and to ensure an even distribution.
Ensuring Even Distribution
The professional and affordable concrete driveway installers distribute the concrete evenly within the forms. They use shovels and rakes to spread the concrete and fill all corners and edges. Even distribution prevents weak spots and ensures the entire driveway has uniform strength and appearance.
Leveling and Screeding
Tools for Leveling
Level the concrete using a screed board, which can be a long, straight piece of wood or metal. Leveling is essential to ensure a smooth, flat surface that is ready for finishing.
Screeding the Surface
Drag the screed board across the surface of the concrete to level it. This process removes excess concrete and fills in low spots, ensuring a smooth and even surface. Proper screeding is crucial for achieving a residential driveway installation.
Finishing the Surface
Floating
The affordable concrete driveway installers use concrete finishing methods that deliver exceptional results. For instance, they use a bull float to smooth the surface of the concrete after screeding. This helps insert the aggregate to the surface. Floating is a critical step in achieving a smooth and durable finish.
Troweling
After floating, use a trowel to finish the surface. For larger areas, troweling can be done by hand or with a power trowel. This step refines the surface texture and ensures it is ready for final finishing.
Creating a Non-Slip Surface
For safety, create a non-slip surface by brushing the concrete with a broom or applying a textured finish. This step is important for preventing slips and falls, especially in wet conditions.
Adding Control Joints
Purpose of Control Joints
Control joints are necessary to prevent random cracking by allowing the concrete to expand and contract. They provide a predetermined location for cracks to occur, minimizing the impact on the overall appearance and integrity of the best concrete driveway.
Placing Control Joints
Cut control joints into the concrete using a groover or a saw. Joints should be placed at intervals of 8-12 feet. Proper placement of control joints ensures your driveway remains intact and aesthetically pleasing.
Curing the Concrete
Importance of Curing
Curing is essential for concrete to achieve its full strength and durability. It also prevents the concrete from drying too quickly, which can cause cracks. Curing a concrete driveway is a crucial step that affects its long-term performance.
Methods of Curing
Curing a concrete driveway by keeping it moist. Cover it with a plastic sheet, use a curing compound, or spray it with water regularly for at least a week. Each method has its advantages, and choosing the right one depends on the climate and specific conditions of the project.

Removing the Forms
When to Remove Forms
Forms can usually be removed 24 to 48 hours after pouring, but it’s best to follow the guidelines of your concrete driveway installers. Removing forms too early can compromise the integrity of the edges.
How to Remove Forms Safely
Remove the forms carefully to avoid damaging the edges of the concrete. Use a hammer and pry bar if necessary. Proper removal ensures the edges remain clean and sharp, contributing to the finish.
Sealing the Driveway
Benefits of Sealing
Sealing the concrete helps protect it from stains, chemicals, and weather damage. It also enhances the appearance by adding a glossy finish. Sealing extends the life of your commercial concrete driveway and maintains its aesthetic appeal.
How to Apply a Sealer
Apply the sealer with a roller or sprayer. Ensure the concrete is clean and dry before application. Proper application of the sealer ensures maximum protection and a professional finish.
Maintenance Tips
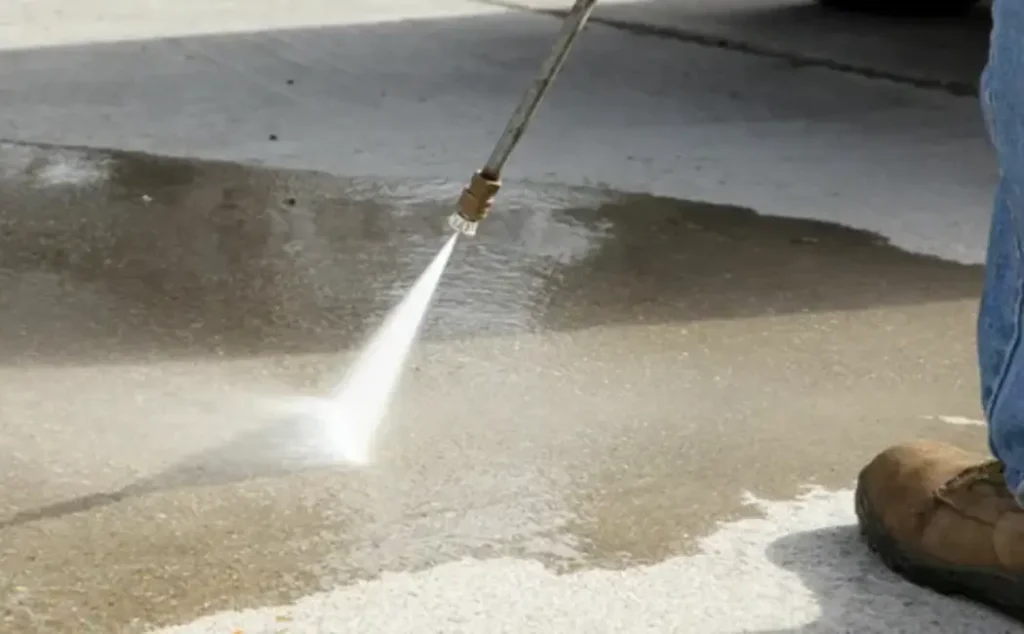
Regular Cleaning
Keep your commercial concrete driveway clean by sweeping away debris and washing it with a hose or pressure washer. Regular cleaning prevents the buildup of dirt and grime, maintaining the driveway’s appearance and functionality.
Preventing Damage
Avoid using harsh chemicals and deicing salts. Address any cracks or damage promptly to prevent further deterioration. Preventive measures and timely repairs extend the life of the driveway and keep it looking its best.
Conclusion
Installing a residential and commercial concrete driveway requires proper planning, quality materials, careful execution, and the guidance of professional concrete driveway installers. By following these steps, you can ensure a smooth, durable, and long-lasting concrete driveway installation.
If you are looking for professional concrete installation, Story Concrete is here to help! Contact us today and let our concrete driveway installers help you with the best concrete driveway installation for your property.
FAQS
How long does the concrete driveway installation take?
The time for concrete driveway installation depends on various factors such as the size of the driveway and the material chosen. Our concrete driveway installers will provide a timeline during the planning.
Do I need Permission for planning?
For most driveways, planning permission is not required. We will guide you through these requirements during your consultation.
How do I maintain my new driveway?
Driveway maintenance depends on the material. During our aftercare advice, we will explain how to keep your driveway looking its best.
What is the best base for concrete driveways?
A gravel base is generally considered the best option for concrete driveway installation.